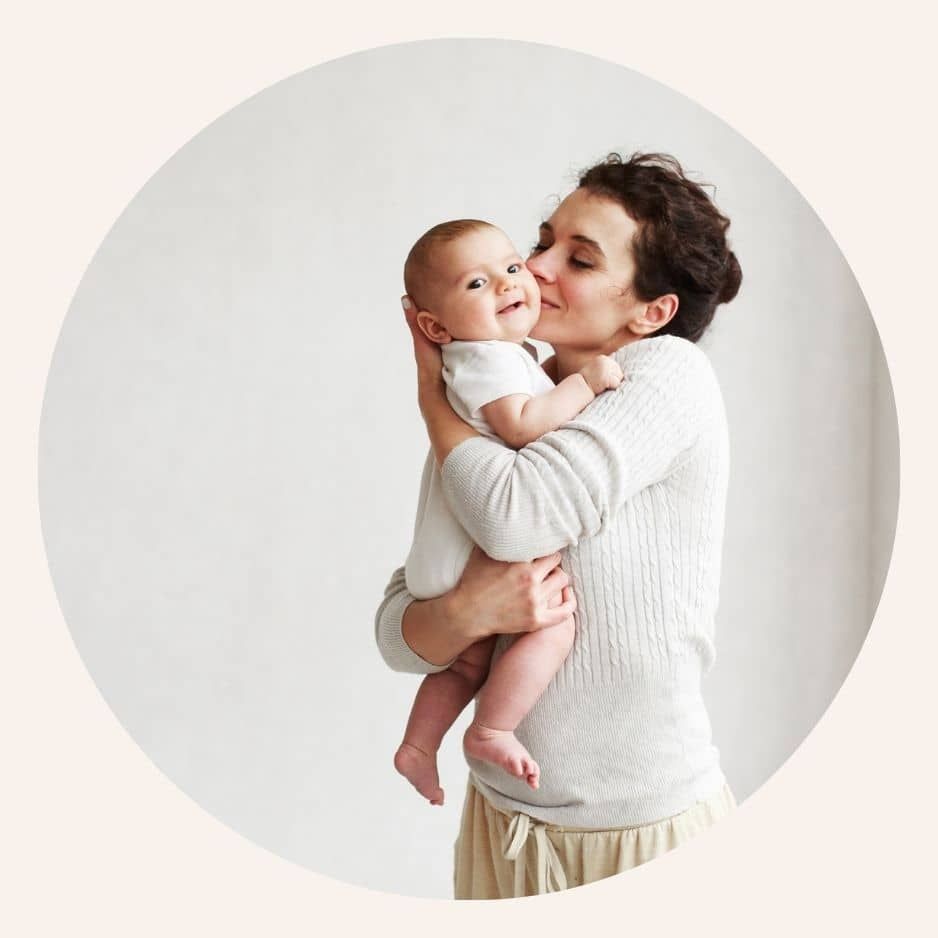
Exploring Feeding Positions: How make latching comfortable.

Mother breastfeeding in laid back feeding Position


If you are breast or chestfeeding your baby, you have probably wondered which position is best for you and your baby, and trying to figure this out often seems like a test you are supposed to pass or fail to be “good” at latching. You may have also been shown a specific way to latch in the hospital that worked for you at the time, but isn’t working for you now that you are home, and that’s making feeding feel awkward for you.

If this sounds like you, you are in the right place. In this blog, I’ll walk you through different feeding positions and how you can experiment to make it work for your body. 

Before we jump into specific details, here are 4 truths about all latching positions you should know first. 

# 1: All Latching positions are suggestions.
# 2: Your latching position should work with your anatomy. 
# 3: 
Your latching positions should feel comfortable, start to finish.
# 4: Your baby’s reflexes are the same no matter what position you use. 


Nobody on this planet has ever latched your baby with your body before, and there isn’t a universal one-latch-fits-all for any of it, and you won’t know which one you like best until you explore your options. Instead of thinking about latching positions as a test to prove your breastfeeding worthiness, think of them as starting points to explore what feels good - and right - for you in any given feed.

You are just experimenting to understand how the angle of your body, your baby's body and the positioning of your arms impact you and your baby's feeding experience.  If your shoulders hurt after feeding, if your nipples hurt during the latching process, if your baby has a hard time sustaining a latch throughout the feeding process..those are all indicators that you haven’t found your “Home Run” position just yet.

No matter how your baby is positioned or which arms you use, your baby's latching reflexes are all the same, and positioning them so that they gape before they suck is key to helping make sure they get the best latch they can in all feeding positions. This is the very first thing to understand before you start to experiment with positions.... ..it's like learning to bake the cake before you decorate it. 

 You can grab my free latching guide at the bottom of this page to help walk you through the basics of how to use your baby's reflexes during latching. Once you understand that, experimenting with different positions is really easy. 

So now that we have our groundwork covered, let's jump right into different positions so you can explore how to use them with your baby. 

The Football Hold


This hold is often taught first in hospitals and is where you cradle your baby in the crook of you arm, and position on the side of your body, much like a running back would hold a football, hence the name.

If you have had a C-Section and want to be able to keep you baby (and their tiny kicking baby feet) off your abdomen while your wound is healing, this is a great position for you. It’s also a great position if you have large breasts or chests and want to be able to see your baby’s face while you are both getting the hang of latching, which makes it easier to get their positioning just right to be able to get a deeper latch.

EXPERIMENTING WITH THE FOOTBALL HOLD

⭐️  Experiment with how high your low you baby is by adding or removing pillow, so that they are at the same approximate height of where your breast (or chest) naturally rests.

⭐️ Adjust the angle of your baby so they are less flat and more upright when feeding. This is particularly helpful for older or long babies, to give you more room between the back of the chair and their body.

⭐️ Change the angle of your body so that you are upright or reclined instead of leaning forward to help reduce discomfort in your upper shoulders.


The Cradle/Cross Cradle Hold


If the football hold is what you were taught first, chances are, this position is what you were taught next. The cradle and cross cradle holds are very similar because it’s just a position where your baby is lying in front of your baby. 

The only difference between the two positions is which arm you using to hold your baby. If you are using the arm closest to their head to snuggle them in, that’s the cradle hold, like in the picture above. If she swapped arms, it would magically become a cross-cradle. 

These holds have the most flexibility about where you feed because you don't need extra pillows (though you can use them!) or a place to lie down for the cradle or cross-cradle hold, and you don’t have to lean back, though you can. You can see your anatomy easily, which is helpful in the beginning. 

EXPERIMENTING WITH THE CRADLE/CROSS CRADLE HOLD

⭐️  Change the angle of your baby's body so that they are diagonal instead of horizontal

⭐️  Experiment with which how to get comfortable after latching, so you have a free hand

⭐️  Take or add pillows so that your baby is higher or lower before latching to match the resting positon of your breasts or body


The Laid Back Position


A laid-back position means that you are reclining back during feeding, so it's more of a modification of other positions, instead of something unique.  You can either start in a reclined position, and let your baby move their body to your breast or chest to attach on their own, OR you can latch them however you want and then lie back....or some hybrid between the two. Remember, there are no rules about doing any of this, and the sky is the limit with experimenting to see what works. 

Allowing your baby to move and engage in the latching process on their own is a great exercise for them when you both are calm because it helps their body learn how to move. This modification is also helpful for babies who struggle with staying latched, as this can give them more support when feeding. It’s also can help slow the flow of the milk down for babies who helps babies who choke or struggle with your letdown. 

EXPERIMENTING WITH THE LAID-BACK POSITION

⭐️  Change the angle of your recline

⭐️  Experiment with letting your baby do all the work or latching and then lying back

⭐️  Try with different latches before you recline 


The Sideyling Position

The side-lying position is a game changer for most feeding parents. Your baby gets a lot of support from both the bed and your body to give them a lot of postural stability when feeding (think eating from a stool with your feed dangling versus eating with your feet on the ground). Sidelying also allows your baby to use their body to move to latch because you aren't worried about them falling. 

 It’s also helpful if your baby is having latching challenges, and you aren’t sure if it’s your body or theirs, because you can keep them in the same position and offer both sides. 

Suppose they can feed from both sides without moving. In that case, the problem isn't your anatomy itself, but more likely discomfort, tension, or asymmetry in your baby's body causing latching difficulties.  If they still struggle with feeding on one side and you haven't moved their body at all, then that's a clue the challenge is with your anatomy. 


To experiment with sidelying, start in the middle of the day when you and your baby are both calm and crawl into bed with your baby, making sure there are no pillows or blankets near them. You can put a pillow under your head once you have latched.

Lie on your side with your baby on their side facing you, snuggled into your body, and pulled down towards your lap so that your nipple is above their nose, and wait and see what happens….you can help your baby if you need to, but you’ll likely be surprised about how capable your baby is of finding your body and latching on their own.

You can swap sides by rolling your shoulder forward and scooting your hip back, all without moving your baby. This is such a comfortable way to feed your baby. 

EXPERIMENTING WITH THE SIDE-LYING POSITION

⭐️  Change the elevation of your nipple by shifting your shoulders

⭐️  Experiment with putting your baby near you but not next to you to see how far they can move

⭐️  Try sliding your baby down to your lap, so they have to look up more and get the chin planted for the gape


The Koala/Straddle Hold


This position is where your baby is straddling your thigh like they are riding a pony. If you have a newborn, their knees may be tucked up under their belly instead of out, and that's ok too. The biggest key of this position is that your baby starts below your breast or chest so they look up to find the nipple to latch. This is super helpful for setting the stage for the Reflexive™ latch because it naturally opens their head and neck to set up the chin plant. 

The koala hold is great for babies with latching problems, as this position gives them support for their whole body.  Using the straddle or koala hold with newborns works best if you put them on your chest and let them slide down to the right place instead of putting them in the right position, as this usually causes their body to collapse and makes this position feel impossible.  When your baby is older and has more core strength, you can just put them there directly. 


EXPERIMENTING WITH THE KOALA/STRADDLE HOLD

⭐️  Experiment with letting your baby slide their way down into the right position

⭐️  Change the angle of your recline to give more room for your baby's body

⭐️  Explore how far below your breast or chest your baby can be positioned and still be able to latch


No matter how you latch your baby, you aren’t doing it wrong…it just may not be the most effective latching position for your baby and your body. If you have experimented with different positions and can’t figure out how to make this comfortable for you or your baby, a good lactation consultant should be able to help you figure out how to make latching feel good for both of you.

FOR MORE HELP
I have talked about using your baby's reflexes to latch in this blog post, and if you want more help with how to do that, grab my free Reflexive™ Guide to a Pain-Free Latch right here.


LEARN HOW TO

Feed pain-free by bedtime.


Grab my free Reflexive™ Latching guide and learn the tricks and secrets to help you quickly put an end to your latch pain, once and for all.

➡︎ Download Your Free Guide ⬅︎